Email Launch
An email launch starts a Wrkflow when an email arrives at a dedicated trigger address. Each Wrkflow gets its own address, and the content of the incoming email — sender, subject, body, attachment, and more — can be mapped onto the Wrkflow's launch parameters so your Wrk Actions can use it.
Email launch is a good fit for inbox-driven processes: invoices sent to an accounts address, support requests, or reports forwarded from another system.
Open Email Launch
On the Wrkflow Automation screen, find your Wrkflow and select the envelope icon — the second option in the Launch Control column.
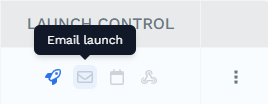
This opens the Launch Control panel with Email Launch selected.
Add launch parameters to your Wrkflow first
The Email Launch panel can only map email content onto launch parameters that already exist. Before configuring the trigger, open the Wrkflow in the Wrkflow Designer and:
- Select the rocket node at the top of the Wrkflow to open the Launch Configuration panel.
- Under Launch Inputs, select Add field and give each parameter a type and a name — one for every value you want to capture from the email.
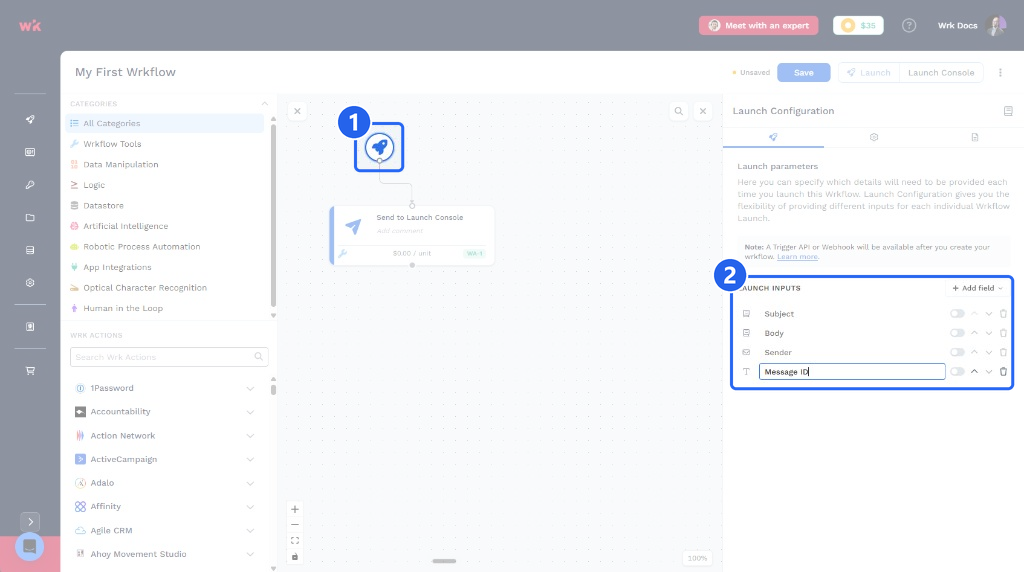
Then save the Wrkflow.
If you skip this step, the dropdowns in Email Launch will have nothing to select. Adding a parameter later also requires saving the Wrkflow again before it appears in the panel.
Configure the email trigger
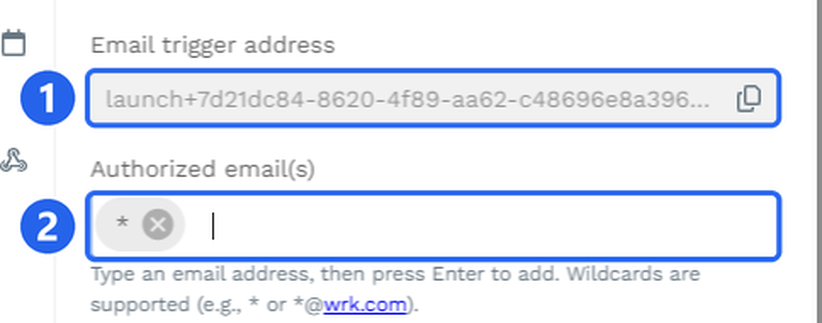
Email trigger address
The Email trigger address at the top of the panel is generated for this Wrkflow. Any email sent to it triggers a Launch, so copy it and use it wherever the process needs it — a forwarding rule, a distribution list, or a form notification.
Authorized email(s)
Authorized email(s) controls which senders are allowed to trigger the Wrkflow. Type an address and press Enter to add it. You can add as many entries as you need.
| Entry | Who can trigger the Wrkflow |
|---|---|
* | Any sender |
*@wrk.com | Any sender on the wrk.com domain |
person@wrk.com | Only that specific address |
Emails from senders outside the authorized list are silently ignored. No Launch is started and no bounce, rejection, or notification is sent back to the sender.
Map email values to launch parameters
Scroll down past Authorized email(s) to the list of email fields. Each field corresponds to a piece of the incoming email:
| Field | What it contains |
|---|---|
| Message ID | The unique identifier assigned to the email by the sending mail server |
| Date | When the email was sent |
| From, To, CC | The sender and recipient addresses |
| Subject | The subject line |
| Body | The plain text body |
| HTML Body | The HTML version of the body, when the email includes one |
| Attachment | A file attached to the email |
| Priority | The priority given to the resulting Launch |
Use the dropdown beside a field to choose which launch parameter that value should populate.
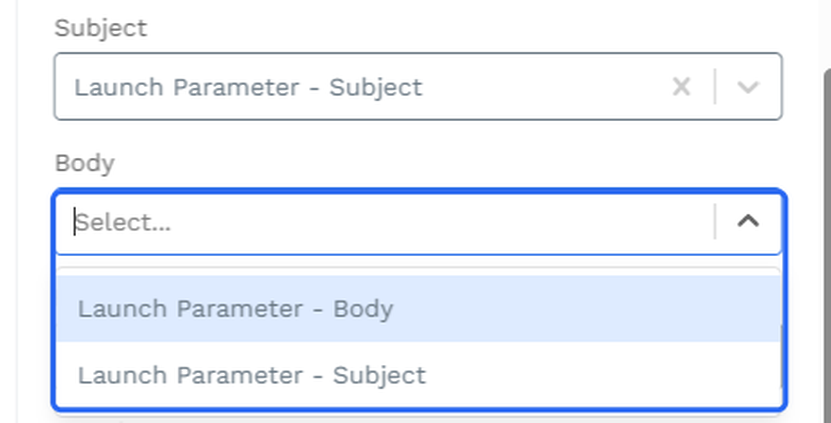
Only the fields you map are passed to the Launch; leave the rest as Select.... Select Save when the mapping is complete.
Send an email to launch
Once saved, sending an email to the trigger address from an authorized sender starts a Launch. The mapped values arrive as launch parameters and are available to your Wrk Actions through the Data Library, exactly as they would be for a manual launch.
Email launches are not instantaneous. Expect the email to be picked up within a couple of minutes rather than the moment you send it.
The Launch appears in the Launches table with a Launch Type of Email Trigger.

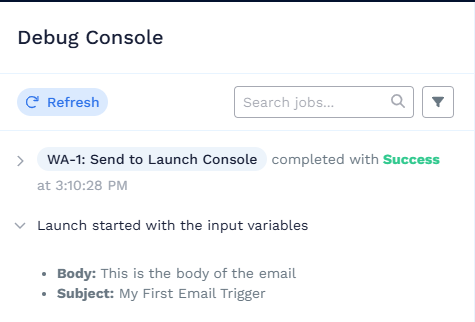
Select the Launch to open the Debug Console, where Launch started with the input variables lists the values the email supplied. This is the quickest way to confirm your mapping is correct.
How emails with multiple attachments are handled depends on your mapping. If you have mapped Attachment to a launch parameter, one Launch is started per attachment — each Launch receives the same email details with a different file. If Attachment is left unmapped, a single Launch is started no matter how many files the email carries.